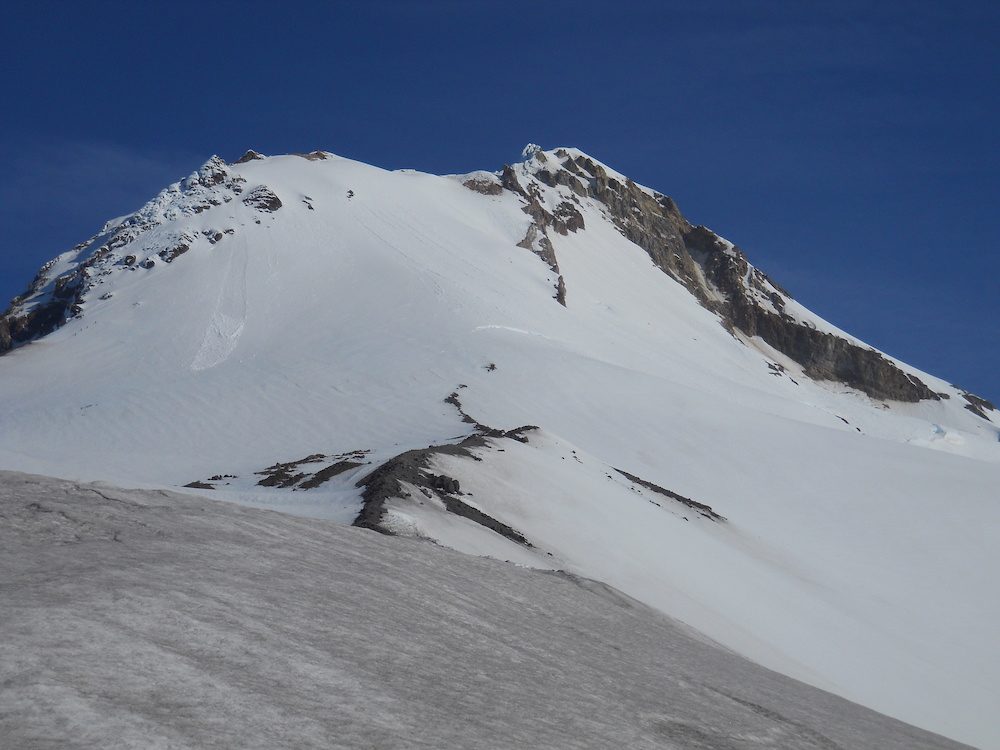
The last thing you want to be doing when you are on top of an 11,000-foot mountain preparing to ski from the summit for the first time is to be futzing around with your bindings in a near-panic. I know this because that is exactly what I found myself doing atop West Crater Rim on Mount Hood the first time I dropped in from the summit, and that was not an experience I would recommend to anyone.
Fortunately I was up there with a super-experienced alpine touring friend, Asit Rathod, and he talked me through the process as I finally got my rental Dynafit boots to click solidly into my rental Dynafit bindings.
Shredding down from the summit for the first time was an absolute blast, and very educational. One of the biggest lessons for me had to do with Alpine Touring gear. If you are like me and hesitant to shell out the big bucks required for a full AT set-up, you may well end up renting gear for your first descent from the summit. And if you rent AT gear, chances are it will be Dynafit gear. Dynafit’s revolutionary boot and binding designs sent a lot of Old School telemarkers like me out to pasture, and they are well respected in the industry as solid and dependable. But they are not simple.
The shop employees who rent this stuff out — like Simon over at the Mountain Shop in Portland and his colleagues — know this gear inside and out, and they will give you a complete run-down before you leave the shop.
Still, it may be helpful to have the steps written out in order, so that when you get out on the mountain and you are short of breath, tired and a bit stressed out, you won’t have gear uncertainties to add to your worries. I wrote out all the AT gear steps before summiting and skiing Mount Hood for the first time, and it was helpful for me. Other than that brief moment of near-panic up top when my boots didn’t want to click into my bindings, I felt confident and at least somewhat prepared, gear-wise, because I had thought through the steps several times at home before performing them under duress on the snow and ice, at elevation.
So here are the basic steps in order to visualize before skinning/climbing up and then shredding down from the summit — with the caveat that the technical details may vary from one gear set-up to the next:
Rental Tools
- AT Ski Boots
- AT Skis
- Skins
- Adjustable Poles
- Ice Axe
- Crampons that fit on Ski Boots
- Helmet
- Pack that can carry Skis
Technical Steps
1. Boots on and in Walk Mode
2. Skins on Skis – Tip to Tail
3. Skis in Climb Mode
a. Back Binding Piece 1/4 turn clockwise
b. Push Toe into Front Binding
c. Toe Piece Up – No Release!
d. Heel rests on Back Binding
4. Skinning Up
a. Shorten Poles as Slope steepens
b. Increase Angle of Back Binding as Slope steepens – 2 additional settings. Flip the metal binding piece under your heel forward to raise the heel. Repeat if necessary.
c. Water (easy access in pack or camel-back)
5. Skinning-to-Climbing Transition – Skis Off, Skins Off
6. Ice Axe, Helmet, Crampons Out of Pack
7. Crampons On Boots – Correct Feet – Short Strap goes to the Outside. Cinch Straps.
8. Skis Strapped to Pack – An A-Frame Design, Skis Base to Base, Tips Cinched with a Rubber Strap Overhead, forming a Teepee Overhead
9. Pack On – Climb – Using Ice Axe and Wearing Helmet – Ice Axe on Uphill Side, Ski Pole on Downhill Side, Extra Pole Strapped on Pack
10. Summit – Food – Water – Photos!
11. Ridge to Drop-In – Slow and Steady, Crampons On
12. Transition to Ski – Flat Surface, or as Close to Flat as Possible.
13. Skis in Shred Mode – Back Binding 3/4 Turn Clockwise
14. Crampons Off and Packed Away, Ice Axe Strapped to Pack
15. Boots in Shred Mode
16. Boots into Binding – Ski Must Be Flat to Click In. Help Your Buddies, They Help You. Click In and Check It.
17. Pack on, Helmet on, and Hit it!
18. Enjoy!
Note to more experienced AT enthusiasts: Please add corrections, clarifications and/or comments below.
Last modified: May 18, 2015